
Have you ever considered integrating solar panels into your space? Despite initial perceptions, the process is actually more straightforward than you might imagine.
Whether you’re embarking on a new construction or renovation project, these 10 steps in the solar panel installation journey are something you must know.
A Step-by-Step Guide to Solar Panel Installation
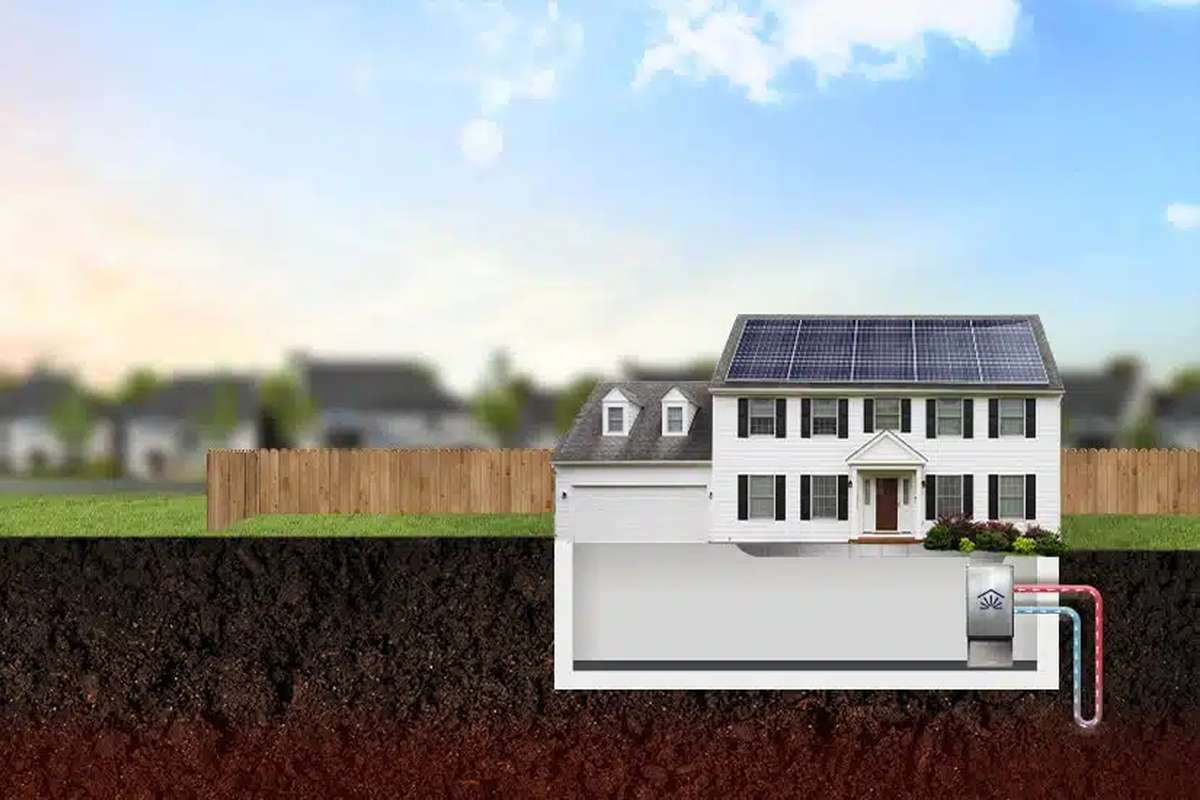
Solar panels, which are capable of powering both residential and commercial setups, typically find their home on rooftops to harness maximum sunlight for optimal power generation.
Here’s how the solar system installation process goes:
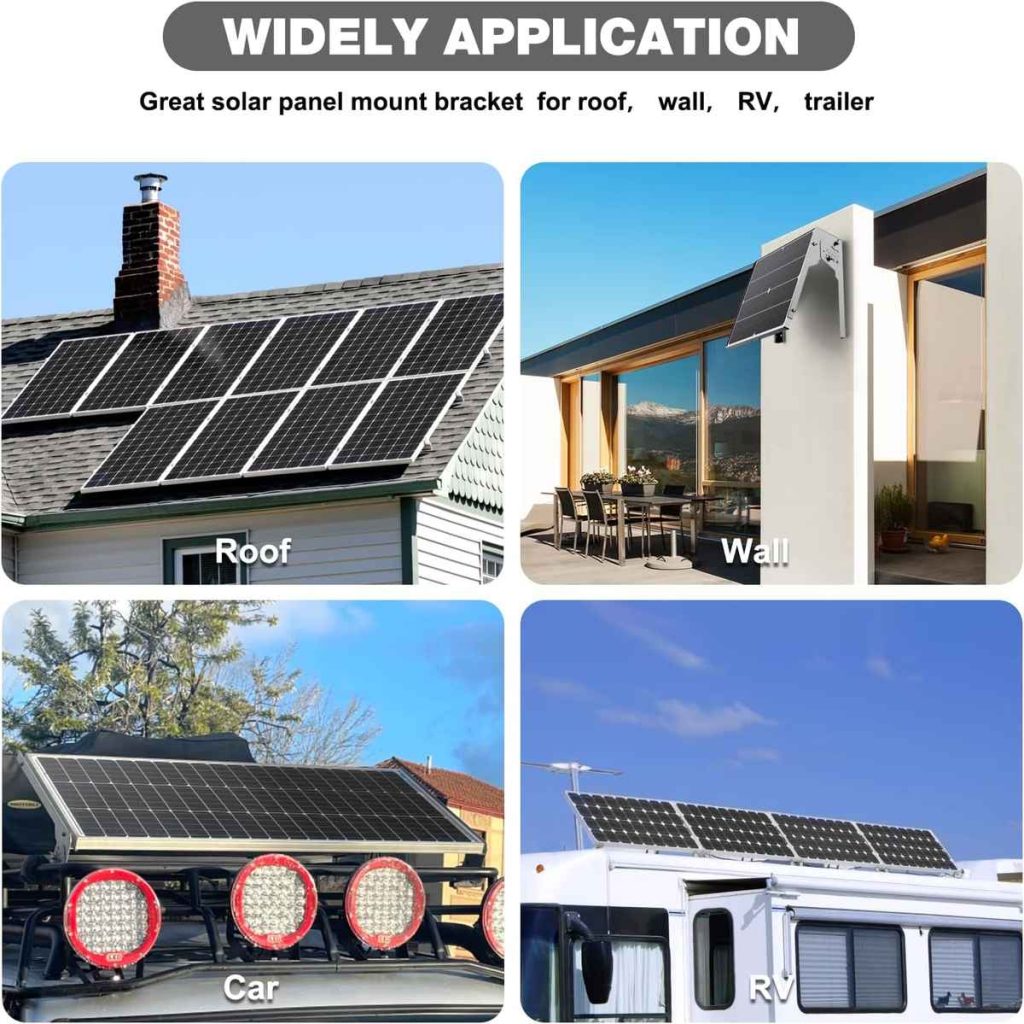
Step #1: Mounting Installation
The process begins by installing the essential solar panel mounting brackets. For this, you have to choose between roof-ground mounts or flush mounts based on your application.
This foundational step provides stability and support, with careful consideration given to the orientation of PV panels (monocrystalline or polycrystalline).
Step #2: Optimal Panel Placement
Next, you want to strategically position the solar panels on the mounting structure, securing them with nuts and bolts. Ensure a robust construction for durability and longevity.
Consider the ideal direction for panel placement, facing south in the Northern Hemisphere and north in the Southern Hemisphere for maximum sunlight exposure.
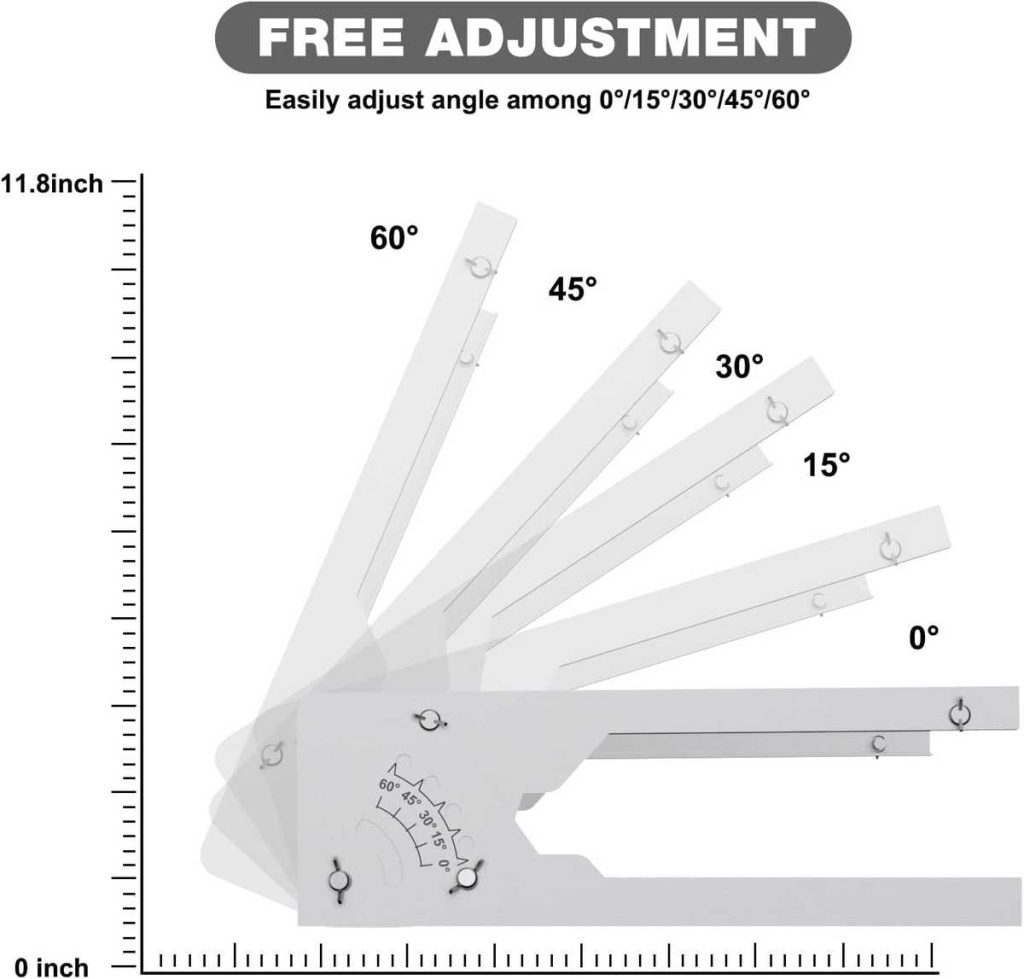
Step #3: Fine-Tune the Mounting Framework
Adjust the mounting framework, tweaking the tilt angle between 18 to 36 degrees. There are also some companies that employ solar trackers to enhance conversion efficiency.
Step #4: Electrical Wiring Installation
Proceed with electrical wiring using universal connectors like MC4 which is compatible with various solar panels.
You can either establish series connections for improved voltage matching with the battery bank or opt for parallel connections to maintain consistent panel wiring voltage.
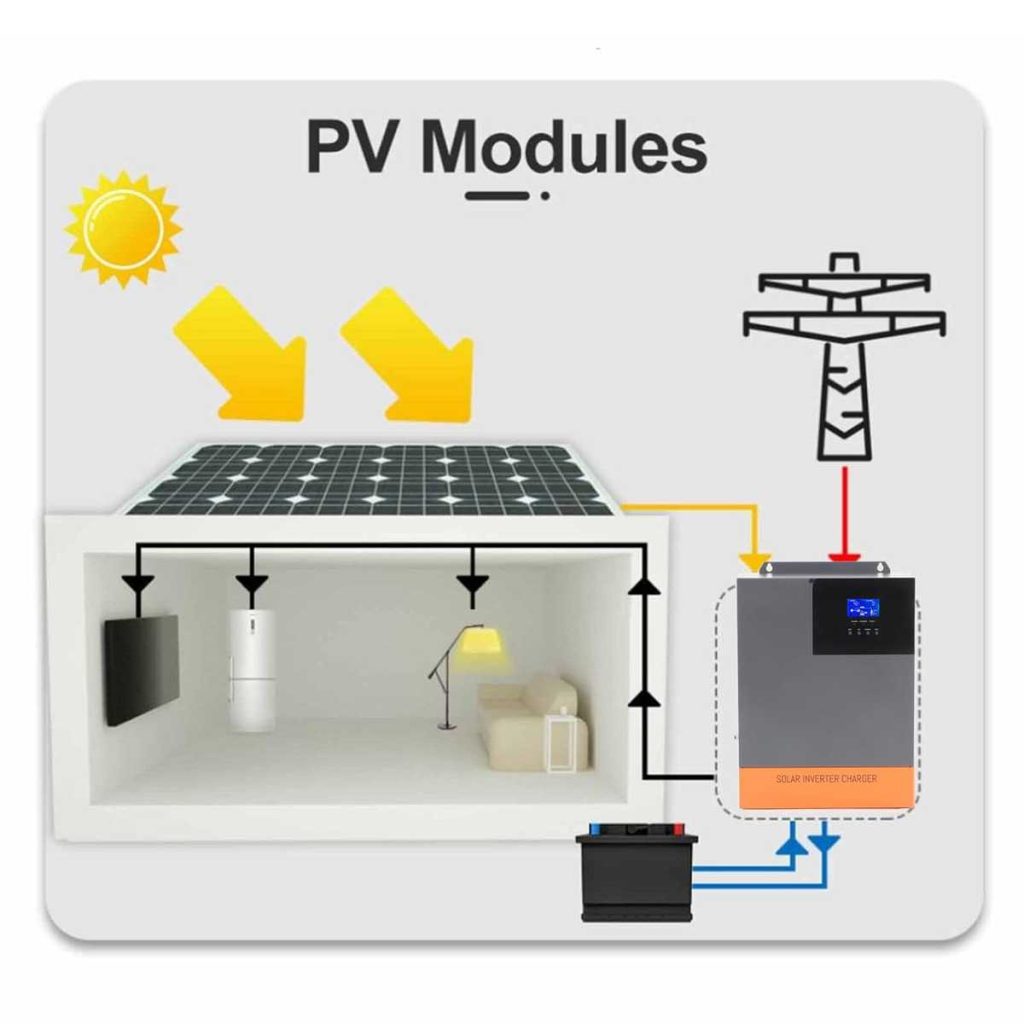
Step #5: Integration with Solar Inverter
Connect the system to a solar inverter. Link the positive and negative wires from the solar panels to the corresponding terminals on the inverter.
In turn, the solar inverter then connects to both the Solar Battery and Grid Input.
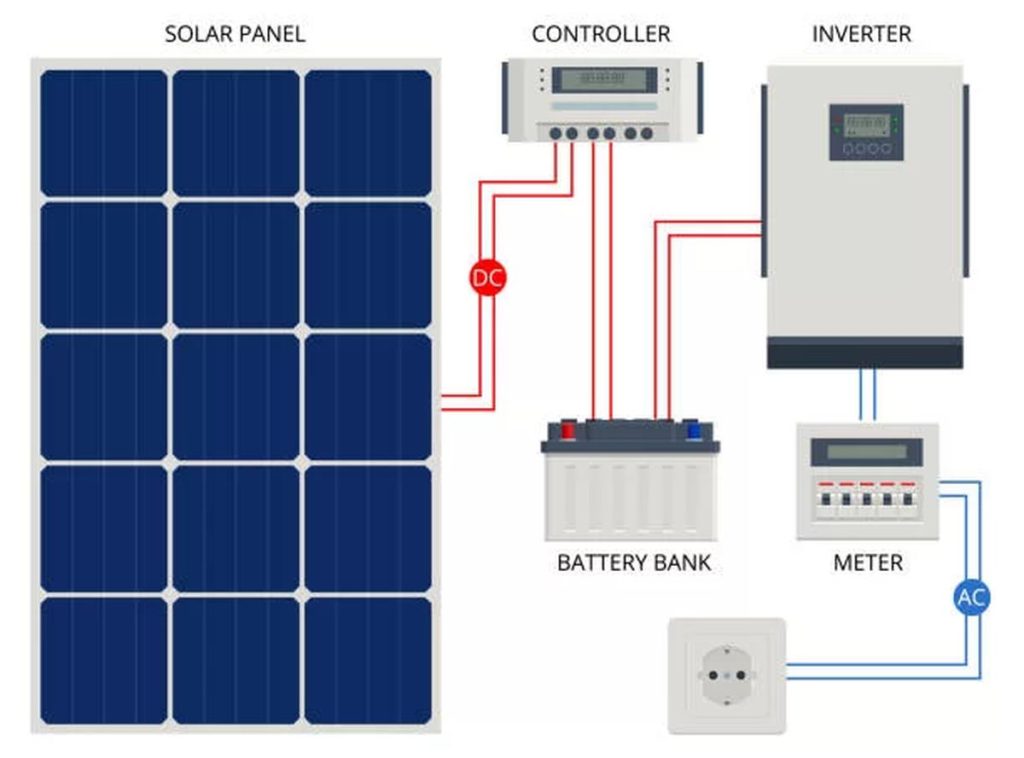
Step #6: Solar Inverter and Battery Connection
Establish a connection between the solar inverter and the battery. Connect the positive terminal of the battery to the positive terminal of the inverter, and likewise for the negative terminals.
This step is crucial for storing electrical backup in an off-grid solar system.
Step #7: Grid Connection
Connect the inverter to the power grid, utilizing a standard plug to link to the main power switchboard. The electric board distributing electricity is then connected to an output wire.
Step #8: Activation of Solar Inverter
Once all electrical wiring and connections are in place, turn on the inverter switch on the main switchboard. Many solar inverters feature a digital display providing insights into your solar unit’s generation and usage.
Once you followed all of these steps, your solar system installation is now complete. This will then allow you to enjoy years of sustainable, free green energy