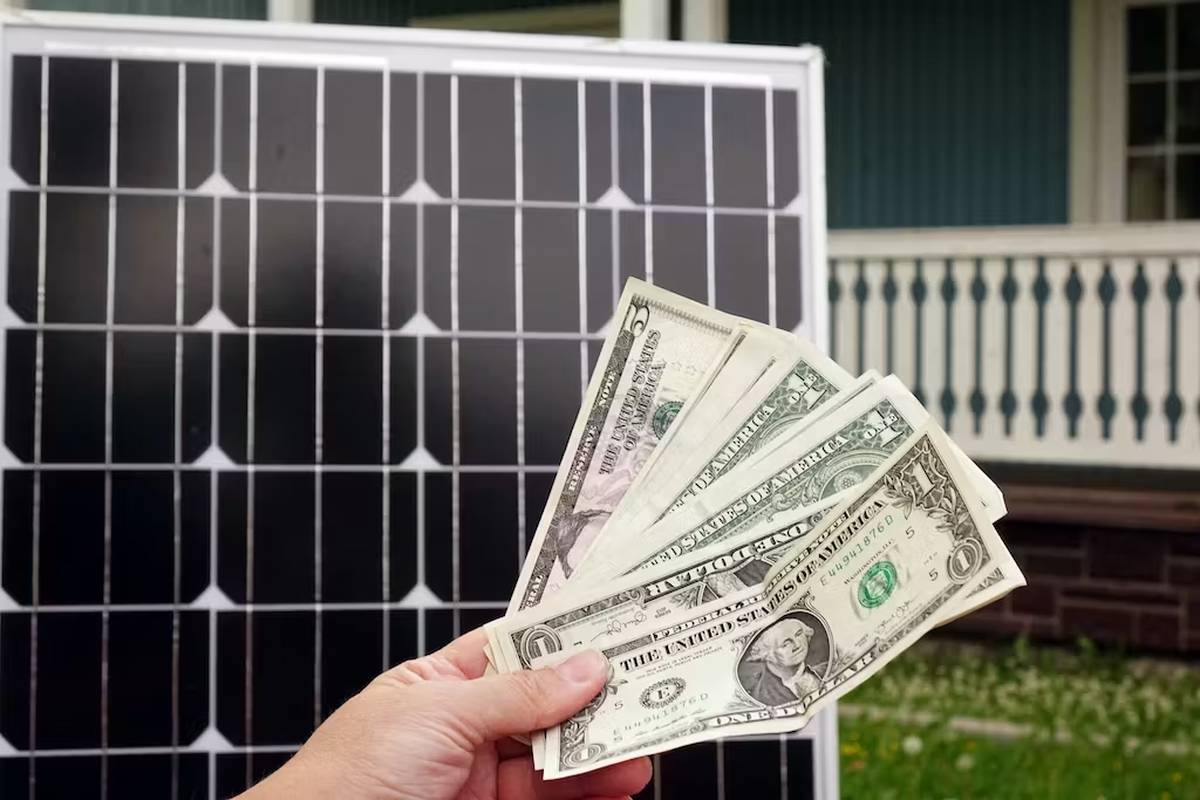
Solar panels are a fantastic way to reduce electricity bills and your carbon footprint, but installation costs can be hefty.
On average, a 3.5kW solar PV system costs around £6,000, with 10% going to professional installation. To save money, you might want to consider a DIY solar panel kit instead. You can even find smaller kits for garden offices or caravans for under £1,000.
In this article, we’re going to look at some insights on DIY solar panel installation and its process.
Going Off-grid with DIY Solar Panels
Typically, professionally installed solar PV systems are grid-connected to ensure a constant power supply. In contrast, off-grid solar-powered homes generate all their energy independently.
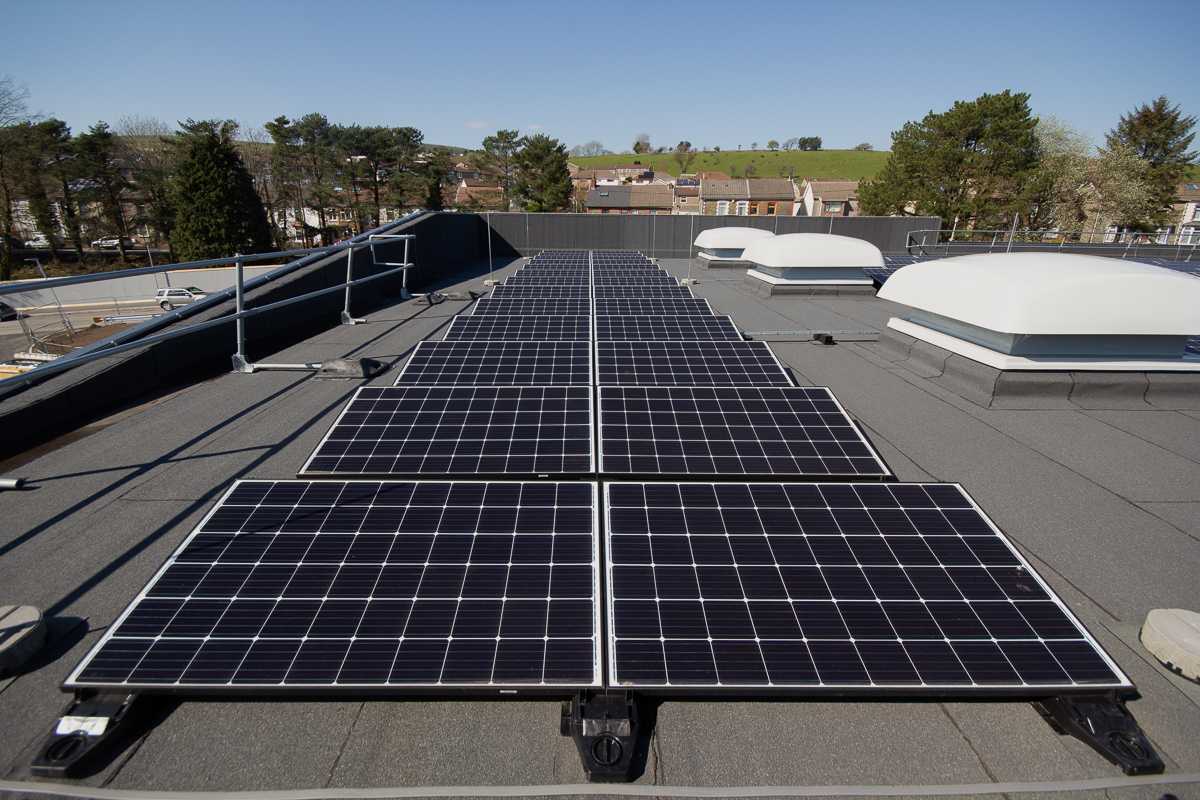
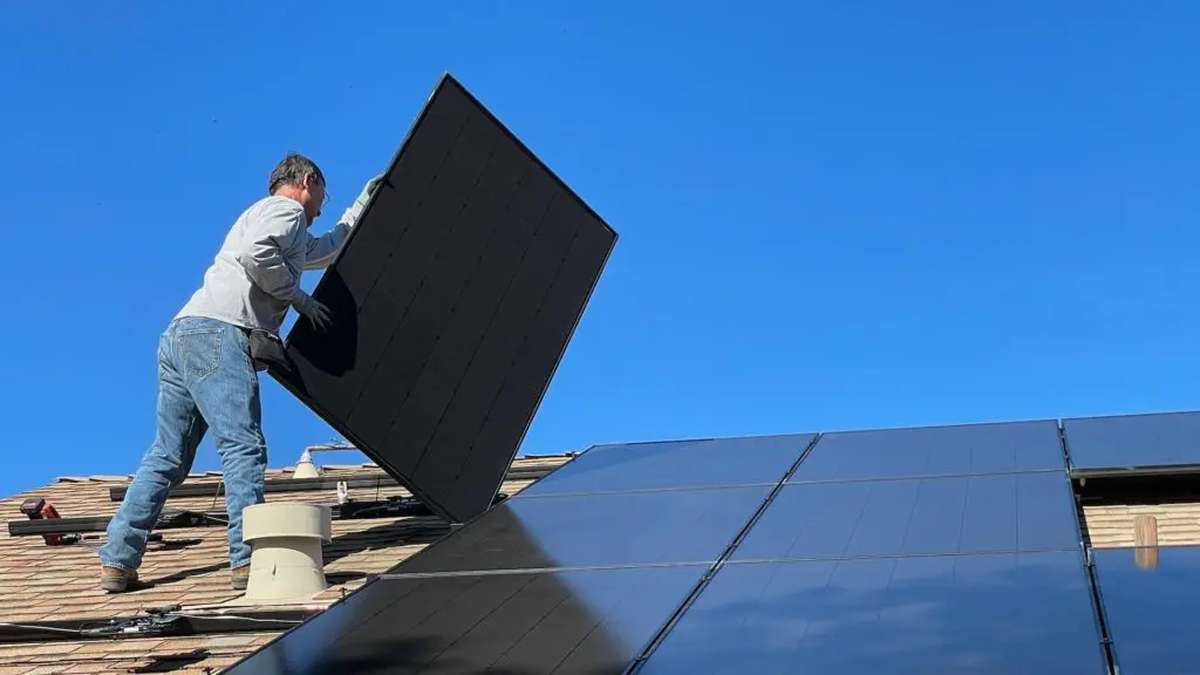
If you want to go off-grid, you’ll need a sufficiently large solar PV array to sustain your home throughout the year. A standard 3.5kW array consists of 10 rooftop panels, each weighing around 20kg, installed on a pitched roof.
Installing such an array yourself is not recommended unless you’re familiar with electrical work and roofing.
Off-grid and DIY solar panels are particularly beneficial for remote locations like garden offices, campervans, or houseboats. They’re relatively easy to install, and a single panel might suffice to meet your power needs without the complexity of connecting to the national grid.
Moreover, the panels are often lighter and more flexible than the solid panels used on house roofs.
For smaller installations, like on a shed roof or campervan, you generally don’t need special permissions or certifications. However, if you’re considering taking your entire home off-grid, whether through DIY or professional help, consulting your local authority is advisable.
Step-by-Step Guide to Installing Solar Panels on Your Own
While we strongly discourage tackling the installation of panels on a standard house roof without professional assistance due to safety and technical complexities, it’s still possible to do a DIY solar panel installation.
Here’s how:
Select the Right Spot
Start by identifying an optimal location. For pitched shed roofs, ascertain the direction (preferably south for maximum sunlight) and the angle (around 35 degrees from horizontal).
If you’re opting for A-frames on flat roofs, make sure the roof structure can support the additional weight. In the case of placing an A-frame on the ground, be prepared to allocate a sunlit portion of your garden to house the solar panels.
Determine the Type and Number of Panels
The number of solar panels you need is also an important consideration. Use online calculators to estimate your annual energy consumption. This calculation will guide you in determining the appropriate number and type of panels.
If you’re a beginner, consider starting with a manageable off-grid panel from a DIY solar kit, such as Renogy’s 200W 12V General Off-Grid Solar Kit, which provides all the necessary components.
Check Permits
Ensure compliance with local regulations. Planning permission may be necessary, particularly for arrays of six or more panels on A-frames.
If you’re planning to connect to the grid, confirm your energy supplier’s support for DIY installations and meet certification requirements to qualify for incentives like the Smart Export Guarantee (SEG).
Install Racking or Mounts
For roof systems, carefully mark out the installation area, drill holes, and secure bolts before attaching the rails. Ground-mounted systems may involve installing a single pole or fixing a frame to the ground.
If opting for a single off-grid panel, explore options like roof racks or special adhesives for secure attachment.
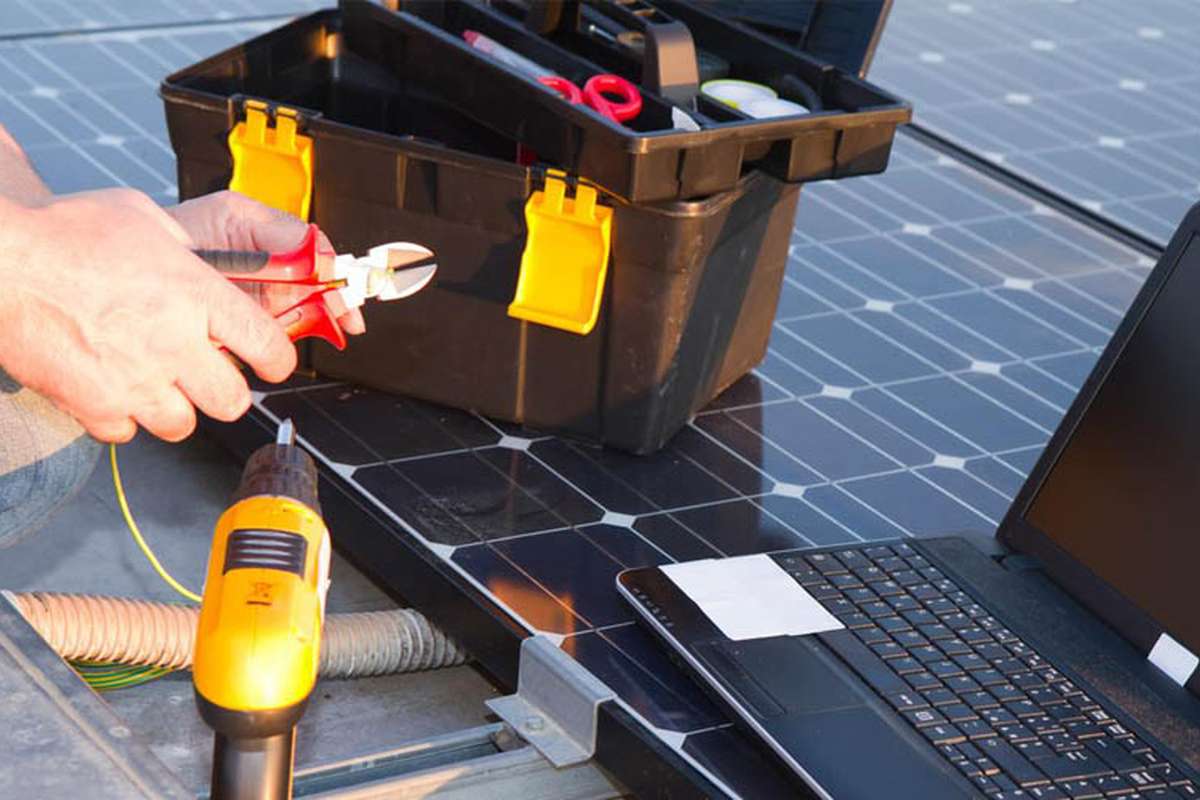
Install Electrics
This stage is crucial and may vary depending on the type of panels you’re installing. Follow the provided instructions diligently, and if there are any uncertainties, it’s advisable to consult with a qualified electrician.
Generally, this step includes the installation of an inverter, a circuit breaker, an isolator switch, and, for on-grid panels, a grounding wire for safety.
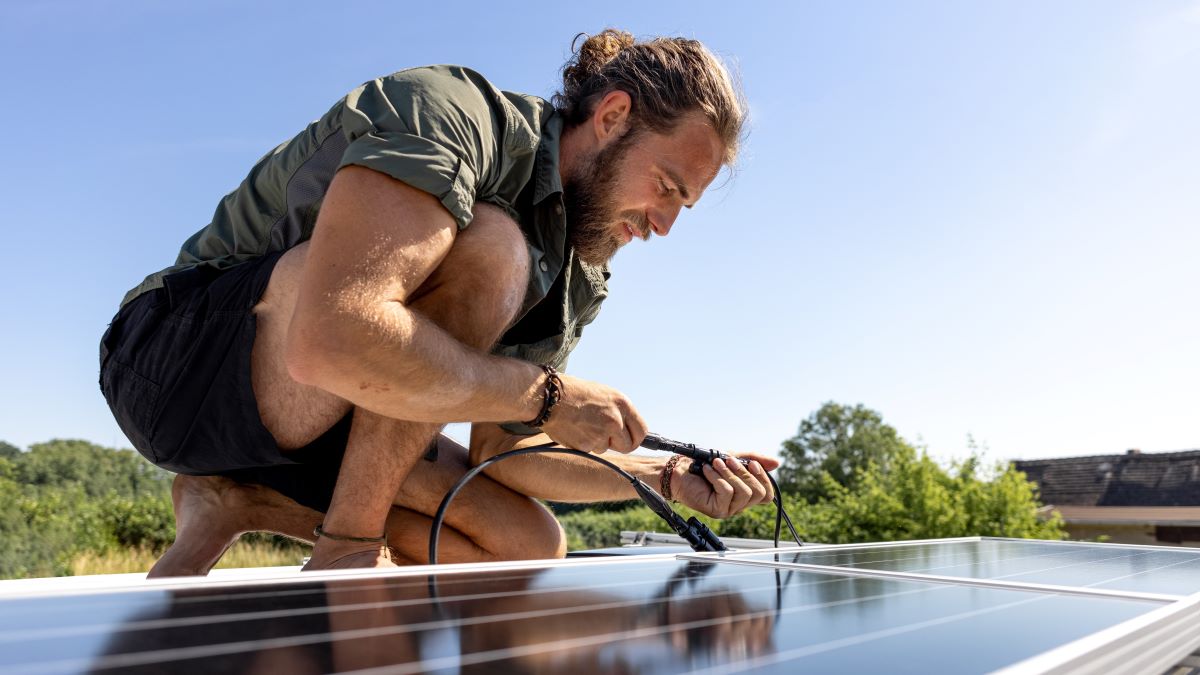
Attach the Panels
Once the groundwork is complete, fix the solar panels to the mounting frame, connect them to the inverter, and begin harnessing the power of the sun for your energy needs.
Conclusion
Remember, throughout this process, safety is paramount. If you encounter any doubts or complexities, then we highly advise seeking the assistance of a professional, especially during the electrical installation stage.